Showing posts with label Helmar. Show all posts

Sunday, June 2, 2019

Bug Hotel...

My husband and I made a bug, native bee hotel for our vegetable garden. This was such a fun project.


First I gathered all my pieces of wood. I have a heap of off cuts from a friend who builds stair cases. So I just looked through my pile of bits and selected them. 4 smaller pieces to make a square and one big enough to back them on.


I then marked where I wanted the holes drilled on the 4 pieces and the backing board.


  My husband drilled the holes for me. 


I then ran a line of the Helmar Super Strength PVA Wood Glue along the inside edges. We then nailed the 4 pieces together forming a square. 


We attached the square to the backing board with a bracket screwed to the inside. The bracket is covered with all the pieces of bamboo that we cut to fit with a hacksaw and an angle grinder. Cutting all the bamboo to size was the longest part to do. We used 2 different sized bamboo.


We had a bit of scrap metal so we decided to bend and nail that over the top to give it a bit more protection from the weather. I painted some chain with a hook, black. I recycled this from a hanging planter to attach through the holes at the top. 
You could just tie some rope through the holes and knot it. 


 So the place to hang this is under shade of a tree. It still needs to get some morning sun though. Wonder how long before we get some insects making a home in here. Will be fun to watch and see how long it takes for them to find it.  Bees do such a wonderful job pollinating my vegetable garden if we can help them in any way, I think it is worth doing. 

Have a great day
Vicki-Ann :) 

Vintage style page dividers

 I have been working on some Vintage tabbed inserts for a vintage journal that I want to make this year. I have been making all sorts of pockets and tabs to add to it.


I have a lot of card that I like to use up for these sort of things. I reuse all sorts of card and cardboard, once it is covered you would not know anyway. To start for this cut any size you like as it is going to get covered in book paper. So on my card I went around the edge with the Helmar Premium Craft Glue then pressed it onto my book paper. Then I trimmed with my scissors around the edge. I did the same with the other side but this time it was just coffee stained paper I used. I used this so I could have it blank to journal on. Then on top of the book paper I added some Tim Holtz washi tape to just get a start on some collage.


Next I selected some ephemera that I have collected. I have a small box I collect things I like the look of. This is sometimes just scrapbook papers that I cut down to fit in the box. I find it easier to use when I look at smaller pieces. I cut it to the size I wanted and then went around all the pieces with my blending tool and my distress ink.


I place the pieces on to the background, then take a photo. This way when I remove them to glue them I have a reference of were I had them. Often it is in layers so a photo really helps.


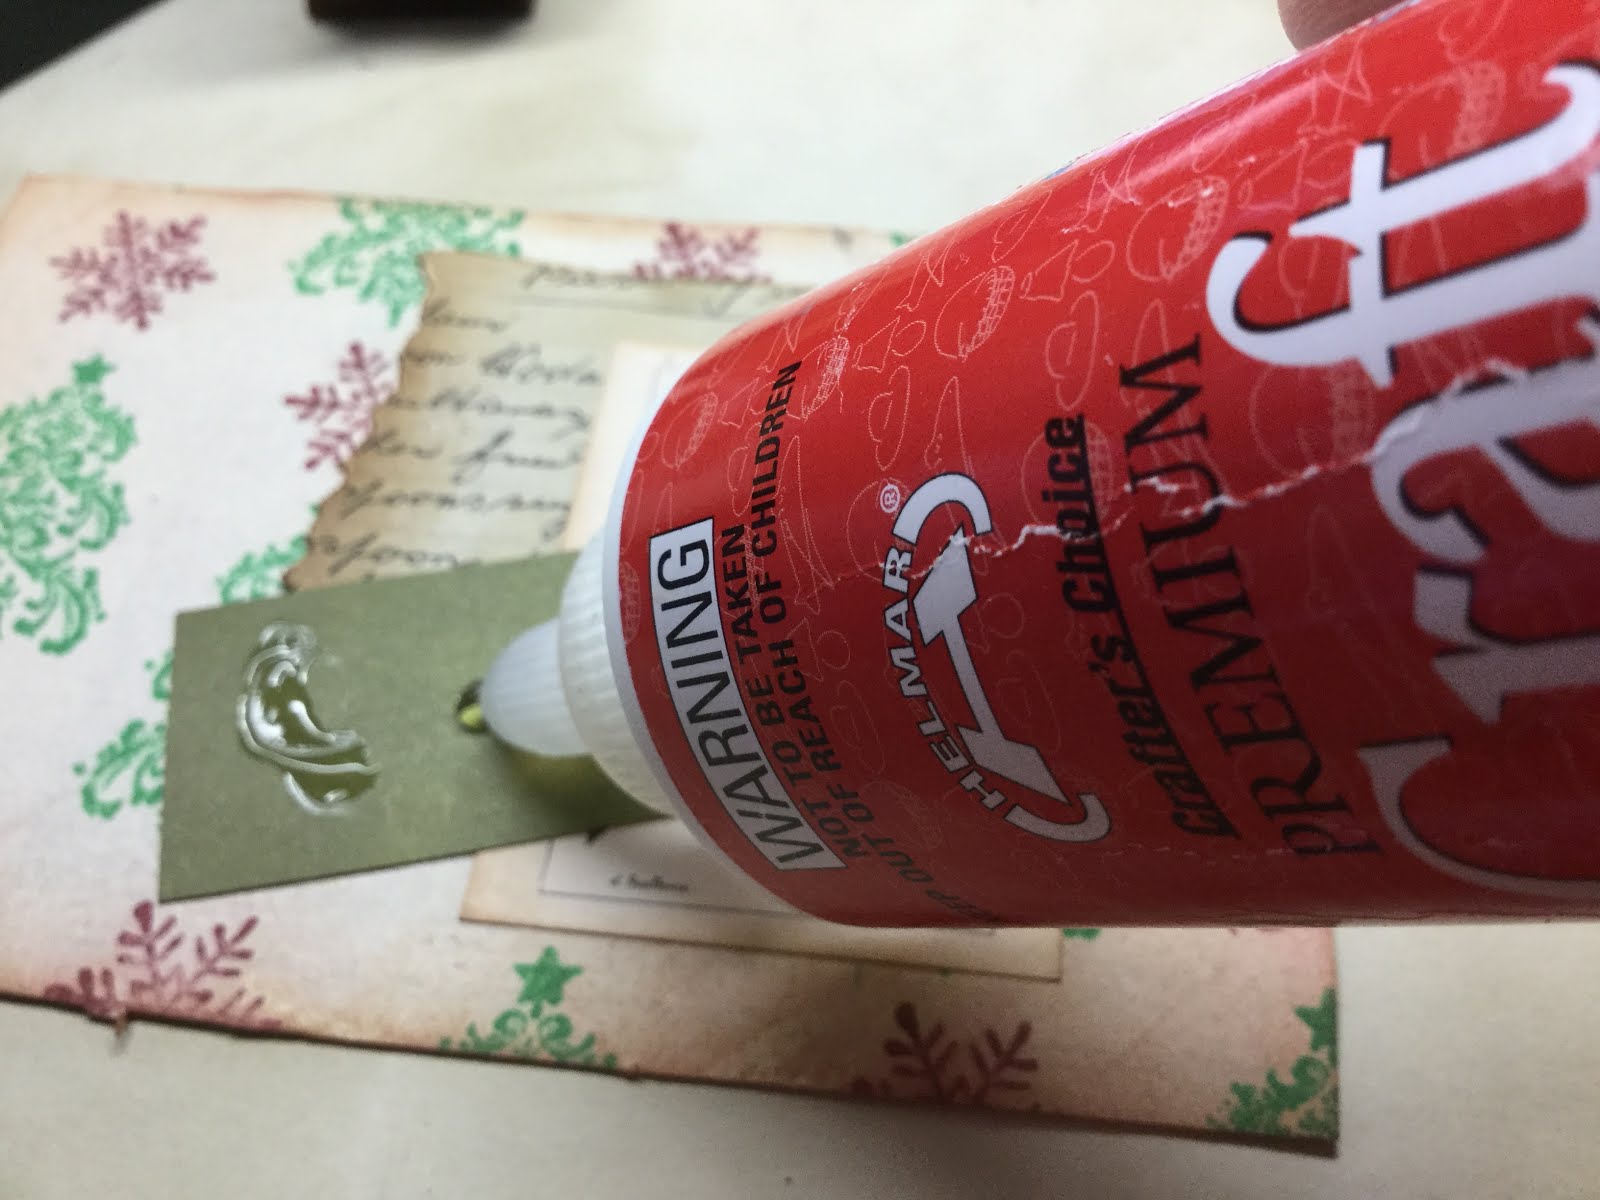
So starting with the bottom layers I added the Helmar Premium Craft Glue smoothing out with the tip of the bottle. I like that if you pop too much on you can just rub off the excess with your finger.


I wanted a little pocket on each of them so I cut some cardstock in a triangle and just glued with the Helmar Premium Craft Glue along the bottom and side edge. That makes a lovely little tuck spot to add a tag or some tickets.


To add a tab at the top or side I use a die and run it through my bigshot die cutter. I use this die a lot it is one of my favourites. I always do the 2 of them and add the small one to my stash for later. Just fold in half and burnish with a bone folder. Then I use the distress in and blending tool around the edges. Pop some of the Helmar Premium Craft Glue around the edges and in the middle and press on to your project were you want it. I think they are a cute addition. I often add numbers or pop a eyelet in so I can use a bulb pin and trinket.


I really enjoy layering ephemera and collaging it all onto scrap card to make something. So hope you have a go and use your ephemera collection.

Have a great day
Vicki-Ann :)

Tuesday, May 7, 2019

Postcard swap

 I am an Australian Art swap member on facebook and this time we are swapping postcards. The theme was to recycle Christmas wrapping paper on our postcards and write a quote or some inspiration for the coming year on it.


I cut my card to postcard size, then I received some lovely hand stamped Christmas paper.  I thought was it perfect for this project that I had saved. Using the Helmar Decoupage and Craft Paste. I covered my card with my Christmas paper smoothing out any bubbles.


Next I decided what I wanted to go on top for the next layer. So digging through the box I decided that the sunflower was perfect. I tore some of my Nana's copied recipe and a bit of bird from some  paper.

I always place the pieces on top before gluing and take a photo so I can look back when gluing.


So starting with the recipe piece of paper that is the bottom layer.


I glued using the Helmar Premium Craft glue. Gluing and adding my layers.


I coffee stained some copy paper and typed some quotes. Inked around the edges with vintage photo distress ink and added them to the postcards using the Helmar Premium Craft Glue. I posted these off last week, I hope my swap partners like them. I made a small one for me to add into a book I want to make with all bits and pieces in it.

Have a great day
Vicki-Ann :)

Monday, December 31, 2018

Tri fold card

 I am shocking you with bright colours and doodling today..

I love adding all the tiny marks and doodling on my art work. It is so much fun.


So I cut a piece of watercolour card stock to size 5 x 6 and then lightly sketched a design of some flowers on there. Then using a pink and purple in watercolours I did a wash on the background. Sprinkled water and mopped it up to give some texture. Using some Neocolour II I coloured some book paper with scribbles in yellow and orange. Then added water to smooth it all out. I then used this for my flowers by cutting them into oval and circle shapes.

.

Using the Helmar Premium Craft Glue I positioned my flowers on the lines that I redrew with my black pen.  Adding some squiggles and circles around my flowers. Then I used a blue paint pen and white signo pen and filled in some of the lines.

I then cut my paper into 3, 2 x 5 inch strips. So I had 3 panels.


I backed each one with black card stock cut to 2 1/4 x 5 1/4 and using the Helmar Premium Craft glue I backed my watercolour panel on to the black cardstock.


I cut a piece of white cardstock 71/2 x 5 1/4 scoring it every 2 1/2 inches along the 7 1/2 side.
Using the Helmar Preium Craft Glue I attached my watercolour paper design.


Stamped my you rock word and backed it with black cardstock and glued that together with the Helmar Premium Craft glue
I really think my friend will enjoy my funky card and she does rock.

Have a great day
Vicki-Ann :)

Bloom Banner...

 Every year I pick a word to be my word of the year. For 2019 I have picked the word Bloom. I have been doing a lot of gardening and when I was looking for inspiration for my word this one just seemed right.


I made a pattern out of paper so I got my sizes the way I wanted them. Then I used these for cutting out my pieces. I cut 5 pieces of hessian and 5 pieces of fabric. I pinned and cut around the shapes.

Now grab the Helmar Spray Adhesive  (Excuse the hands with the ground in dirt on them, the hazards of gardening.) Make sure you have a well ventilated room and pop some paper down to catch any excess adhesive. Now holding the Helmar Spray Adhesive spray can 20 to 30 cm away from your material, give it a quick spray on the wrong side of your printed fabric. 


Now just turn it over and position it on your hessian pressing it down flat. 


Grab your stencil and because I wanted to position my lettering in the centre and see how it looked. I placed my stencil over my fabric and just used a pencil to get it all in the right spot before getting my black paint pen.


Now this bit is optional as it is already on there really well with the Helmar Spray Adhesive  I really like the stitching though it just added a bit of detail. I stitched around the edges using a zigzag stitch. As the Helmar Spray Adhesive  was on there holding it, everything stayed in the perfect spot. So I did not have to pin anything. How awesome is that. It also made it really easy to fold it over at the top. I just stitched it on the wrong side, so that I now had an opening to thread my string through.


I cut some strips of the same fabric using my pinking scissors and just tied them on the ends and in between each of the letters. I thought this added a nice finishing touch to my banner. I just used a bit of washi tape to hang up my banner on the shelf above my desk. I will enjoy seeing this in my art room for the year 2019 to inspire me. 


Have you chosen a word for 2019? 
Have a great day
Vicki-Ann :)

Thursday, December 20, 2018

Christmas decorations...

Hi all Vicki-Ann here today and over on the Helmar Creative team and I am doing some Christmas Decorations.. 


I cut out a star shape, out of paper to make a pattern. Then I doubled over my fabric and popped a pin through my star paper pattern.


Then on the wrong side using the Helmar fabric glue. I went around the edges, leaving a bit not glued at the bottom. Then I grabbed the second star shaped fabric and pressed it on the top. Leave that to dry.

I then did a tree shape. I cut 2 large triangles. I just free hand cut them the size I wanted. Then using the Helmar Fabric Glue I glued the sides leaving the bottom open. Once it was all dry I grabbed my embroidery thread and needle and sewed the edges for decoration. I did a blanket stitch around the edges that were glued. I then stuffed my star and tree with stuffing. Be careful not to over do the stuffing.


Using more of the Helmar Fabric Glue I ran some along the bottom edges and then pressed it closed.
You may need to hold for a little bit or pop a clothes peg or something on it to keep it shut. I then finished off the edge with more of the blanket stitching.


Then for the front I used some buttons and lace for decorations. I sewed on the buttons on the tree.


I did not like how the stitching showed on the back so I popped some lace and another button on it to cover it with a dob of the Helmar Fabric Glue. For the star I threaded some embroidery thread through the holes and made a bow. I then sewed that button on in the middle of the star. Using some more of the Helmar Fabric Glue I glued some lace under the button.


Well I had fun making these, they were a quick little project to do. I need to make about another 3 trees. They were my favourite to make.

Have a great day
Vicki-Ann :)