Showing posts with label DecoArt. Show all posts

Friday, June 7, 2019

Mail Art...

It is so fun to get mail art in the letter box. I am sure it makes the postman smile too. 


Using my small Gelli plate on my acrylic block. I added small amounts of acrylic paint. Then using my brayer. I rolled it out and then rolled the excess paint onto my cardstock. I also pressed papers onto my Gelli plate to get some prints too.


Then using my Helmar Premium Craft Glue on the back of the cardstock I added it to the left side of my envelope. Cutting the excess off with my scissors. A simple way to add some fun to a plain envelope.


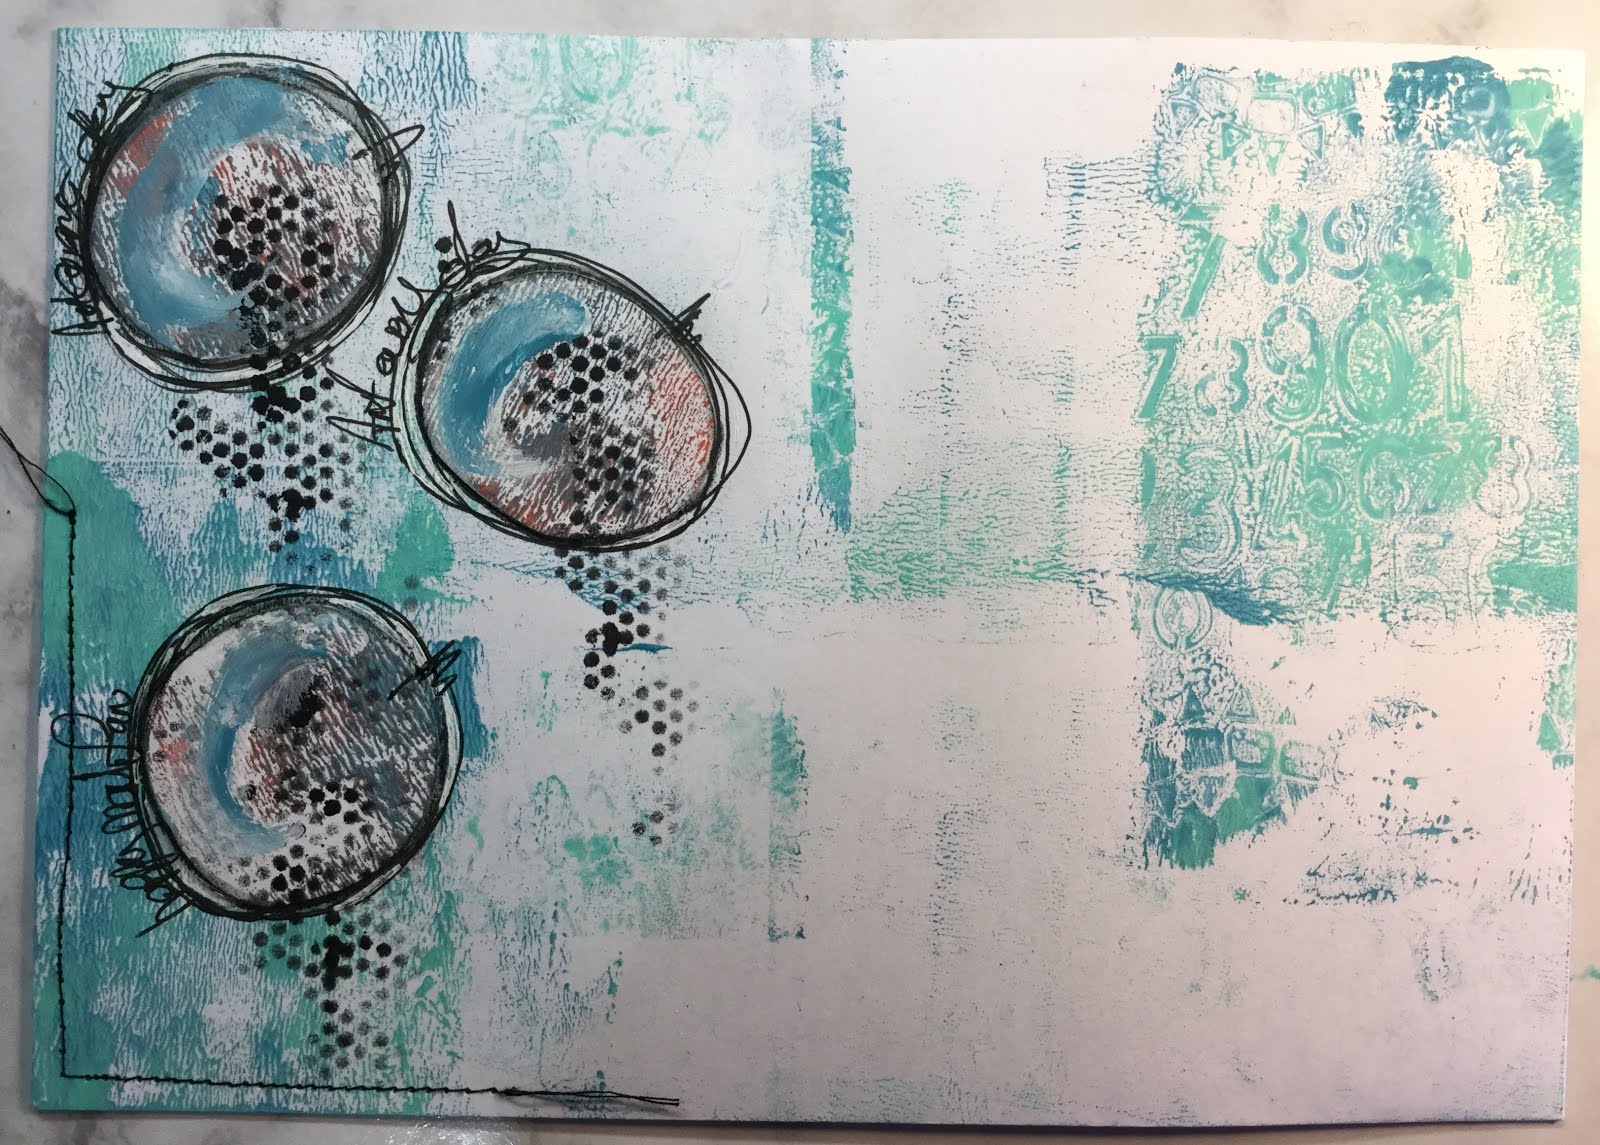
This one I painted the envelope with my brayer and using my Gelli plate as a stamp I stamped on the right side. I then cut some circles out of one of the prints. Using some of the Helmar Premium Craft glue I added these to the front on the left side. I drew around them with my black pen and did some scribble writing. Added a few tiny circles over the top with a TCW stencil.

Have a great day
Vicki-Ann :)

Tuesday, May 7, 2019

Postcard swap

 I am an Australian Art swap member on facebook and this time we are swapping postcards. The theme was to recycle Christmas wrapping paper on our postcards and write a quote or some inspiration for the coming year on it.


I cut my card to postcard size, then I received some lovely hand stamped Christmas paper.  I thought was it perfect for this project that I had saved. Using the Helmar Decoupage and Craft Paste. I covered my card with my Christmas paper smoothing out any bubbles.


Next I decided what I wanted to go on top for the next layer. So digging through the box I decided that the sunflower was perfect. I tore some of my Nana's copied recipe and a bit of bird from some  paper.

I always place the pieces on top before gluing and take a photo so I can look back when gluing.


So starting with the recipe piece of paper that is the bottom layer.


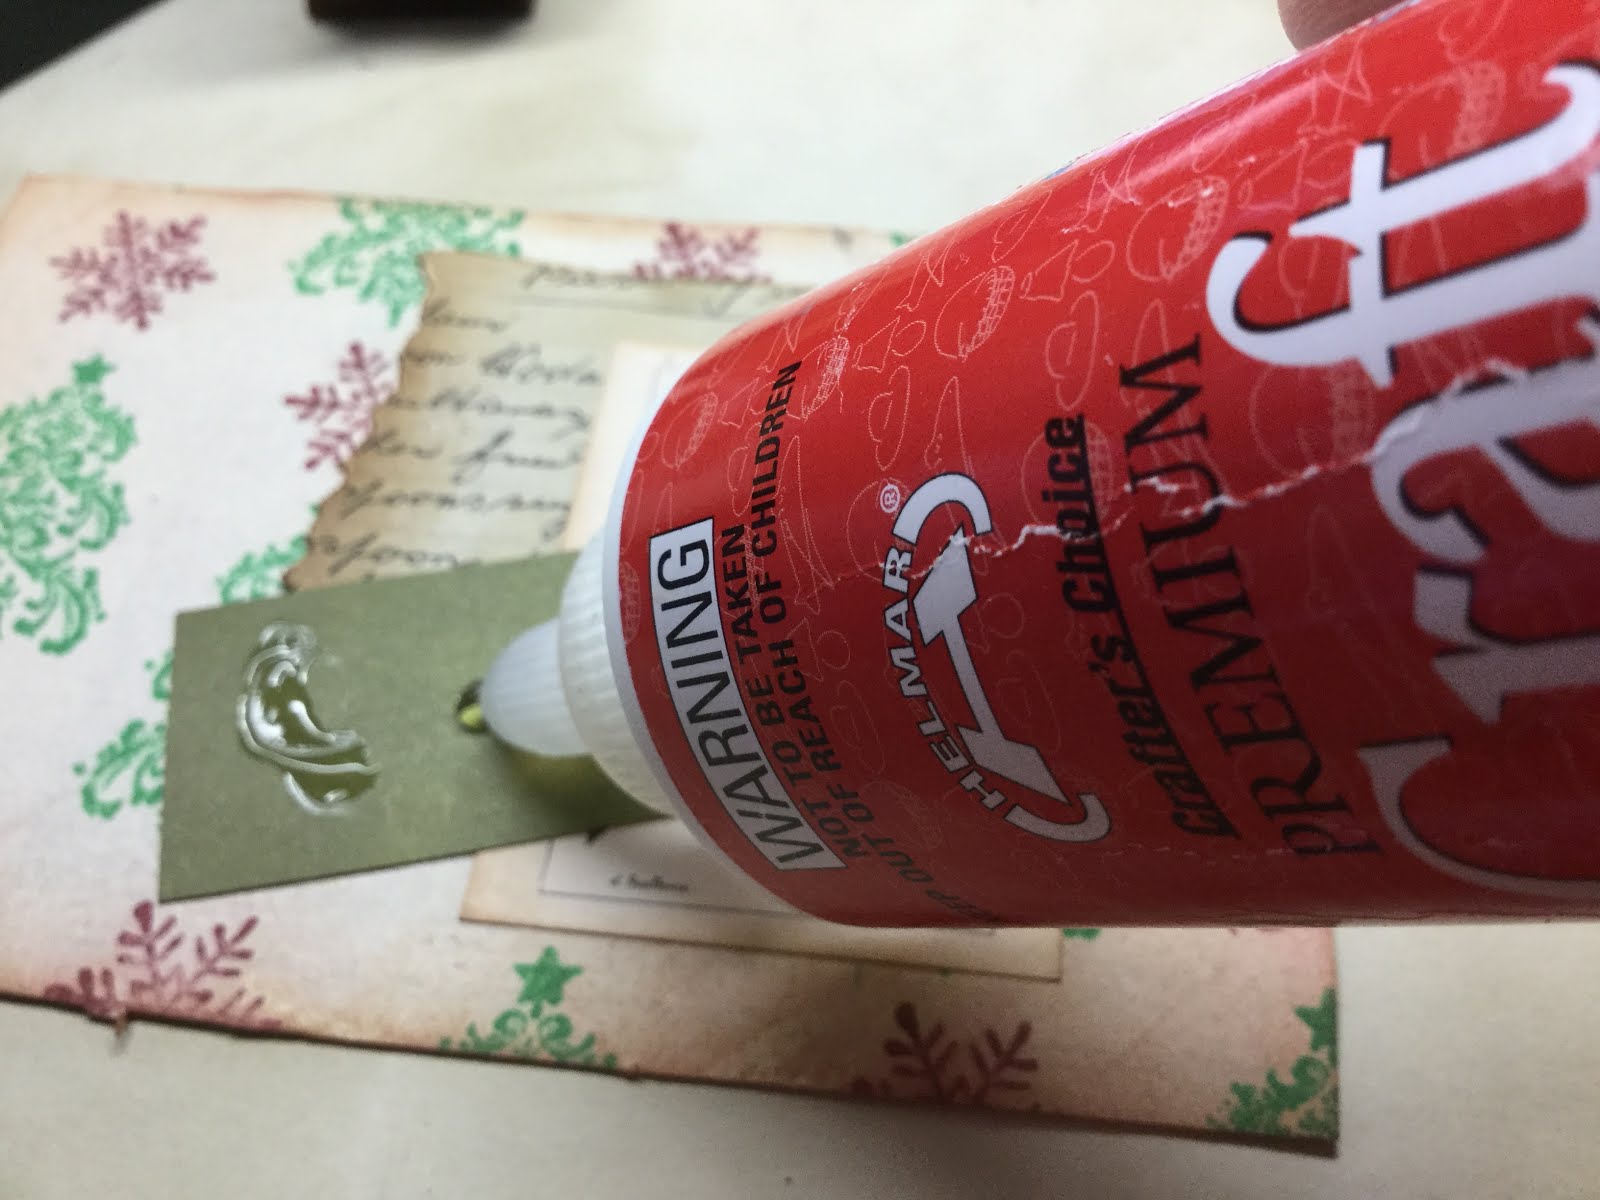
I glued using the Helmar Premium Craft glue. Gluing and adding my layers.


I coffee stained some copy paper and typed some quotes. Inked around the edges with vintage photo distress ink and added them to the postcards using the Helmar Premium Craft Glue. I posted these off last week, I hope my swap partners like them. I made a small one for me to add into a book I want to make with all bits and pieces in it.

Have a great day
Vicki-Ann :)

Friday, August 10, 2018

Just fun stuff...

When I do my letter journals and in happy mail. I always like to include some of my art. So to relax and just for fun. I grab a piece of white card stock and put out some blobs of paint. Then I grab a paint brush and make circles with all the colours. Add some collage papers of anything in my scrap box. Some splatters and then random dashes and mark making with my pens. Of course I added some washi tape. I just got this cool domino washi tape. 

For these ones I cut up into ATC or Artist Trading Card size.  They also make great cards or I back them with card stock to make small gift card type cards too. 


A few more of my Index cards or ICAD's from the last few days of July.


Going to add this over on Paint Party Friday.

Have a great day 
Vicki-Ann :)

Friday, August 3, 2018

ICAD 2018

Over on Daisy Yellow this year. I joined in on the ICAD or Index Card a Day challenge. It is a 61 day challenge over the months of June and July. This is just a few of the cards from this months challenge.  I really enjoy the daily art making. It seems to inspire me to make even more art. 

For these cards, I used my small Gelli plate. 
Decoart acrylic paints. 
TCW, Dylusion and Andy Skinner stencils.


Linking this up over on Paint Party Friday. 
Have a great day
Vicki-Ann :)

Friday, July 27, 2018

ATC's and Postcards...


Napkin art is such fun to do. I had these awesome napkins with butterflies and dragonflies and that blue was just lovely. Using some Decoupage glue I placed it onto some card stock then cut it up to be 4 ATC and 2 postcards. 


I used some of printed quotes on my coffee stained papers for the quotes, thought they looked good on the blue. 


Adding some of the Decoart Crackle paste really added some great texture. Rubbing in some of the Decoart Media Antiquing cream really made the cracks stand out. 

Adding this over on Paint Party Friday
Have a great day
Vicki-Ann :)

Wednesday, June 27, 2018

Set of Draws.

I have had this set of draws from Kaisercraft for a while. I had them painted in Gesso so I used some of the Helmar Tacky Craft glue to glue it together. I have used this before on these wooden projects and it always works terrific and holds so well.


I painted all the pieces with Gesso to seal it all.


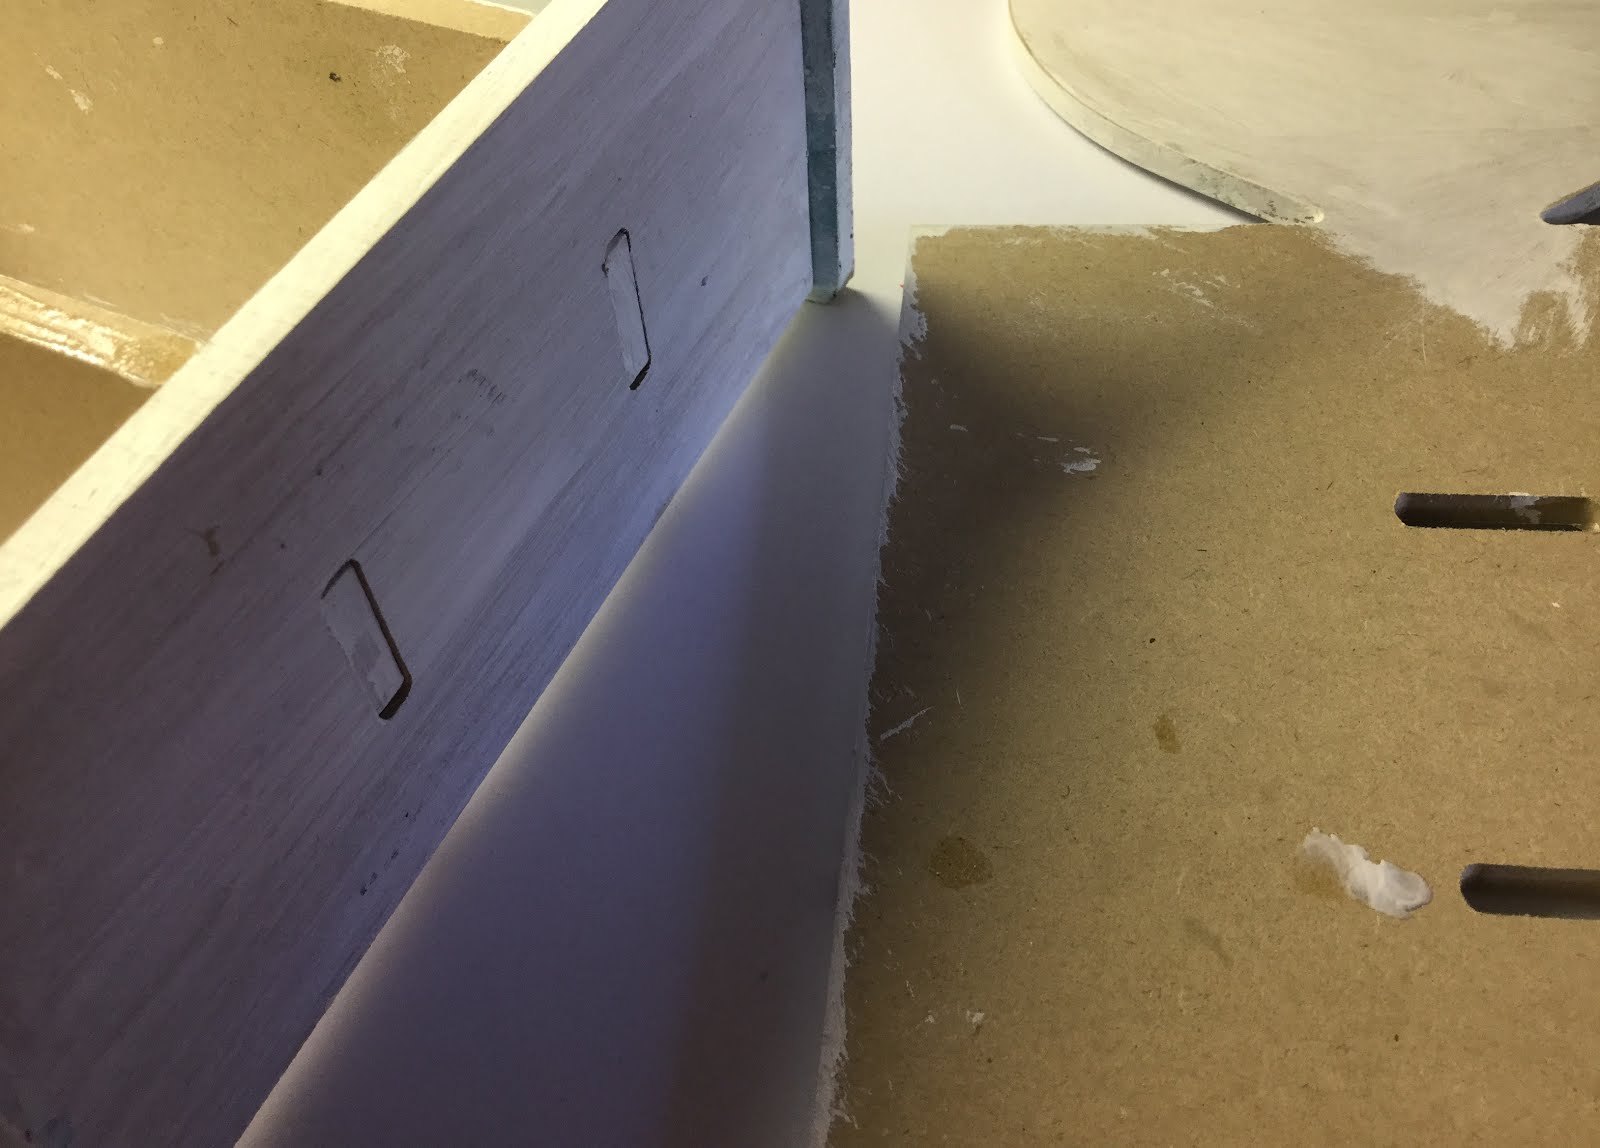
I then ran a line of Helmar Tacky Craft Glue around all the back edges. I set some heavy books and my container of journals on it and let it dry.


Using some Helmar Decoupage and Craft Paste I tore up some music papers and glued them here and there on all the sides, top and back. Covering the joining slots.


I then painted it trying to leave a bit of the music paper showing here and there. Waited for it to dry and sanded the edges and some of the painted surfaces. I wanted it to look a bit distressed.Then using a TCW stencil I added some little detail with a make up sponge in some white paint.


To do the draws I added some music paper with some of the Helmar Decoupage and Craft Paste and then painted it. Folded the draws up and then painted in the crevices, making sure none of the cardboard was showing.


Then I grabbed the Helmar 450 Quick Dry Adhesive  and glued the edges together. Just holding them until they stuck this takes just a few seconds.


I like to add a quote that I type up on my typewriter to my wooden projects. This ended up on the side. I added it using the Helmar Tacky Craft Glue.


I was looking for something to add at the top on the heart and found some thongs (flip flops) and the word chill. Thought it kind of looked beachy my project so thought that will be perfect. I have a beach house stamp, so continuing with that theme I stamped that on some cardstock with watercolour paint. I backed it with a bit of blue card stock that had been painted using my Gelli plate. It matched so thought that looked ok. I painted the word to match.and added a piece of Hessian under the work chill to make it stand out. Added some string that I tied into knots and to adhere this I added the Helmar 450 Quick Dry Adhesive in dots under the knots to stick it down, it worked really well.


This was such a fun project to do and now I have a handy little set of draws to store some craft items away.

Have a great day
Vicki-Ann :)

Friday, February 9, 2018

Letter Journals...

Thought I would put a few of the pages from the Letter journals that I have been working on in the last few months and pop around and say hi over at Paint Party Friday  Have you had a look at all the amazing art that is posted over there.. No!! Well follow the link and have a look around. Everyone is welcome and we love seeing what everyone is up to during the last week. 


I had fun on these black pages at first I was a bit tricked then when I thought about how well the signo white pen works on black I just had fun doing lots of dangles.


Stamped on paper with my alphabet stamps and cut and pasted. 


Always fun doing circles. Scribbled words around them. 


More dangles added some Gelli plate printed hearts. I wanted to play with some Kaisercraft Die cuts. So I put them over the background and then painted and blended them in. 
All paint used was Decoart Americana Acrylics, they come in some fabulous colours and such fun to use. 

Have a great day
Vicki-Ann :)

Friday, September 22, 2017

Art journal fun...

I have been busy in my art journal just playing with my Decoart Americana acrylic paints. 


I just love doing circles and adding layers and layers of different paints till I get something that I think is done. 


Adding lots of stamps and stencils is one of the best parts. I so love adding splatters of watered Gesso at the end such fun to do. 


I have been using my mop up papers on my desk in lots of things lately and I used it in this one to add the petals for the flowers. Lots of doodling for the stems and this one I did live on Periscope. You can find the replay for it HERE at @sandybeachart.

Linking this up with Paint Party Friday

Have a great day 
Vicki-Ann :)

Wednesday, September 20, 2017

Birthday Owl Canvas.

Hi everyone Vicki-Ann here for the Helmar Creative Team today. Recently my daughter had her birthday and every year I make her a small owl canvas instead of a card. 


First I painted my background using 3 different Acrylic colours and a palette knife blending to get some variations in colours. I added clouds and the big flower adding white painted highlights. 


Using the papers that I have on my desk I cut the owl shape and added that using the Helmar Decoupage and Craft Paste and the paint and glue spreader. I add the Helmar Decoupage and Craft Paste to the back of the paper and to the canvas and then spread out any bubbles. Once this was dry I added painted wings adding layers of paint to try and match the papers on the body. I added circles of the vintage book paper with more of the Helmar Decoupage and Craft Paste  I then thought he needed a beak so cut some more paper for the beak. Once it was all dry I added eyes and painted the eyelids in a skin tone colour.  


Once everything is dry I love to add tiny details and doodles. Mainly just squiggles and lines filling in with my Signo Uniball pen in white. I like to leave it all overnight to dry thouroughly then I add 3 coats of the Helmar Crystal Kote Picture Varnish Matte Spray This seals it and keeps it from fading.  My daughter loved her and I gave her a small wooden easel so it could sit on the shelf.

Have a great day 
Vicki-Ann :)

Wednesday, February 22, 2017

Helmar art journal cover

Over on the Helmar Creative Team page I created an art journal. I  have been joining in with Rae Missigmans doing the Art Marks 30 Day Challenge Rae announced during the week that she is doing another challenge in March so a whole new set of prompts.  So I needed a new art journal for the new challenge. So it was time to make another one.


First I grabbed my craft knife and cutting mat and cut my cardboard. So my cover ended up being 
8 1/2 inches ( 21.5 cm) by 5 1/5 inches (13.97 cm).


I used the cardboard backing that was with my paper. The cardboard is quite sturdy and I cut it in half. So that meant it was the perfect size for my book. The paper I use is Monte Marte Watercolour paper and has 30 sheets so I will get 2 books of 30 pages so it works out so well and the paper holds up to sewing really well. I punched holes 4 cm in from each inside edge. I spread Gesso over the cardboard and then painted with my palette knife. I used a stencil to add some details and interest.

I then placed some book and dictionary papers together with a bit of plasterers tape and tacked it together with some Helmar Tacky Craft Glue to hold. I added a little paint over the paper, so it matched in to the background. Let that dry a bit, then I sewed with my sewing machine in a zig zag motion. Add this to the cardboard cover on the background with the Helmar Tacky Craft Glue


Then on the inside I thought I would add some interest with some painted desk papers that I use to cover my desk when I paint. 


So I drew around it and cut it to size.


Then I spread the inside cover with the Helmar Decoupage and Craft Glue with the paint and glue spreader. I also added the Helmar Decoupage and Craft Glue to the back of the painted underpapers and used the paint and glue spreader to remove any excess glue and bubbles so I get a nice smooth finish.
I used some Payne's grey Decoart paint on the edges.


I then cut my watercolour papers to size and using the cover as a guide I punched the holes to suit and added the rings

Have a great day
Vicki-Ann :)