Showing posts with label Vintage. Show all posts

Tuesday, June 4, 2019

Vintage themed mini tags...

I have been having some fun making some mini tags. I have an awesome tag punch that I thought needed some use. It is a fun way to use up some of my scrap papers.


So first I cut out some tag shapes from some of my coffee stained papers in card stock. Then tore up some book papers and card stock with some writing on and using a blending tool and some vintage distress ink. I blended around the tag and the torn edges of the card stock. I had some cheese cloth so I cut some of that off and dirtied it up a bit with the blending tool and ink. Then I fussy cut some butterflies, as I am making a few of these. I also used my hole reinforcement punch and punched some book papers to pop over the hole.
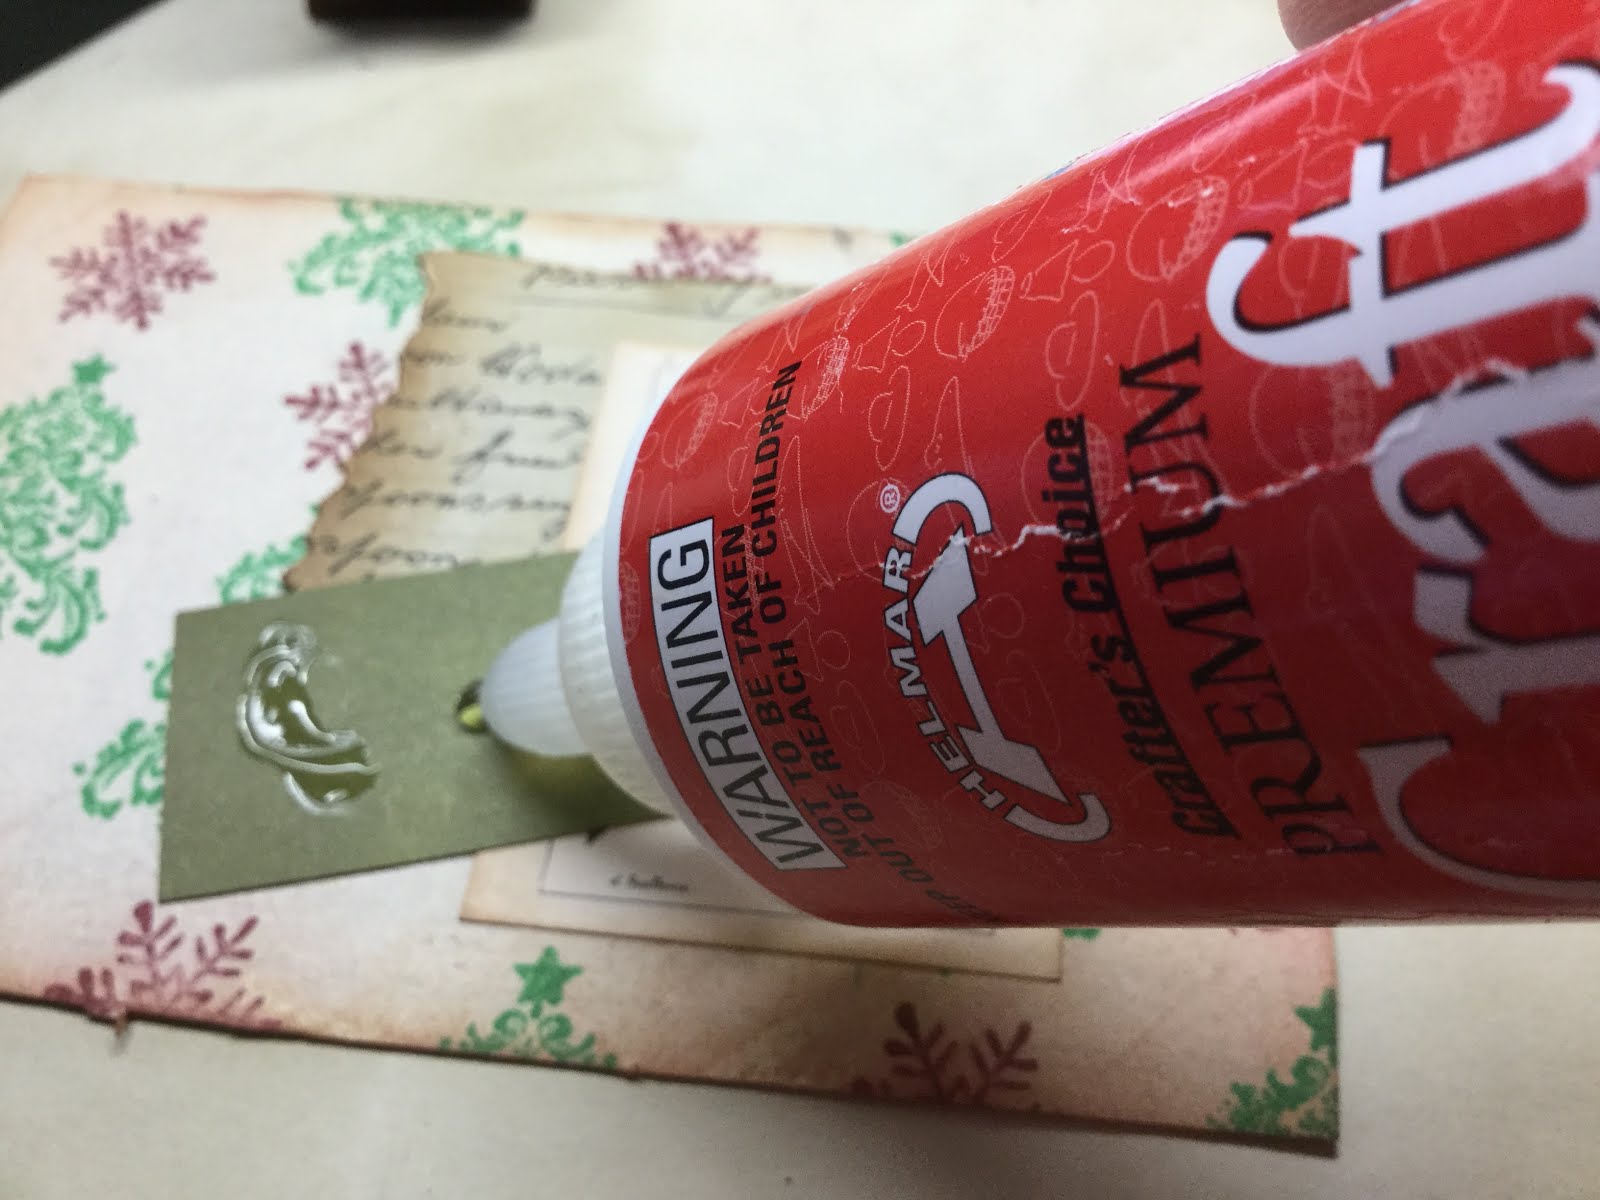
Now I have all my pieces ready it is time to get the Helmar premium craft glue out. This glue is terrific. It glues everything down so well, dries so quickly but gives you enough time to move it or straighten it without leaving a mess of too much glue. It does not buckle the paper and if you get it some in a place you do not want it. You can just gently rub it and it will come off. I would have to say it is my favourite.


So first using the Helmar premium craft glue and the card stock distressed tag. I glued the book paper, then the writing paper, the cheese cloth layer then on top of that.


I popped my focal image of the fussycut butterfly on top of the cheese cloth.  I thought the tiny piece of cheesecloth just gave it a bit more added texture.Under a couple of the butterflies, to give them a bit of added dimension. I added a little blob (technical term) of Helmar liquid scrap dots. I used a bulb clip through the hole and attached a bee and a scissor charm.


These are a great tiny addition to planners and travelers notebooks. Add them in pockets or attach with a brad. Or even just as a little gift to add a smile to someone’s day.

Have a great day
Vicki-Ann :)

Sunday, June 2, 2019

Vintage style page dividers

 I have been working on some Vintage tabbed inserts for a vintage journal that I want to make this year. I have been making all sorts of pockets and tabs to add to it.


I have a lot of card that I like to use up for these sort of things. I reuse all sorts of card and cardboard, once it is covered you would not know anyway. To start for this cut any size you like as it is going to get covered in book paper. So on my card I went around the edge with the Helmar Premium Craft Glue then pressed it onto my book paper. Then I trimmed with my scissors around the edge. I did the same with the other side but this time it was just coffee stained paper I used. I used this so I could have it blank to journal on. Then on top of the book paper I added some Tim Holtz washi tape to just get a start on some collage.


Next I selected some ephemera that I have collected. I have a small box I collect things I like the look of. This is sometimes just scrapbook papers that I cut down to fit in the box. I find it easier to use when I look at smaller pieces. I cut it to the size I wanted and then went around all the pieces with my blending tool and my distress ink.


I place the pieces on to the background, then take a photo. This way when I remove them to glue them I have a reference of were I had them. Often it is in layers so a photo really helps.


So starting with the bottom layers I added the Helmar Premium Craft Glue smoothing out with the tip of the bottle. I like that if you pop too much on you can just rub off the excess with your finger.


I wanted a little pocket on each of them so I cut some cardstock in a triangle and just glued with the Helmar Premium Craft Glue along the bottom and side edge. That makes a lovely little tuck spot to add a tag or some tickets.


To add a tab at the top or side I use a die and run it through my bigshot die cutter. I use this die a lot it is one of my favourites. I always do the 2 of them and add the small one to my stash for later. Just fold in half and burnish with a bone folder. Then I use the distress in and blending tool around the edges. Pop some of the Helmar Premium Craft Glue around the edges and in the middle and press on to your project were you want it. I think they are a cute addition. I often add numbers or pop a eyelet in so I can use a bulb pin and trinket.


I really enjoy layering ephemera and collaging it all onto scrap card to make something. So hope you have a go and use your ephemera collection.

Have a great day
Vicki-Ann :)

Tuesday, May 7, 2019

Postcard swap

 I am an Australian Art swap member on facebook and this time we are swapping postcards. The theme was to recycle Christmas wrapping paper on our postcards and write a quote or some inspiration for the coming year on it.


I cut my card to postcard size, then I received some lovely hand stamped Christmas paper.  I thought was it perfect for this project that I had saved. Using the Helmar Decoupage and Craft Paste. I covered my card with my Christmas paper smoothing out any bubbles.


Next I decided what I wanted to go on top for the next layer. So digging through the box I decided that the sunflower was perfect. I tore some of my Nana's copied recipe and a bit of bird from some  paper.

I always place the pieces on top before gluing and take a photo so I can look back when gluing.


So starting with the recipe piece of paper that is the bottom layer.


I glued using the Helmar Premium Craft glue. Gluing and adding my layers.


I coffee stained some copy paper and typed some quotes. Inked around the edges with vintage photo distress ink and added them to the postcards using the Helmar Premium Craft Glue. I posted these off last week, I hope my swap partners like them. I made a small one for me to add into a book I want to make with all bits and pieces in it.

Have a great day
Vicki-Ann :)

Saturday, September 1, 2018

Vintage style paper clips for in my Travelers notebook...

Today in my travelers notebook I wanted to make some vintage paper clips to add into my journal. I have some wonderful images from the graphics fairy left over that I still want to use. I am really liking the Kraft coloured paper and doing this collage. I am wanting to incorporate a few other things into this as I have been busy making all sorts of things after watching Nik the booksmith, ArtyMaze and Tracy Fox love junk journals on Youtube. Such fun tutorials to watch. They have some awesome free images on the web sites that I have downloaded to use.


I ended up getting these bigger paper clips this week after watching a few people making little tags with them and thought they would be fun to add into my journal.

I have worked on this page over the last few days just adding bits and pieces here and there when I had a bit of time. I really like doing all the blending with the vintage distress inks. The cutting, stamping and piecing together all the different shades of papers so they make one page. I ended up finishing this page live over on my sandybeached Periscope.

I am adding this over on Paint Party Friday, Hi all.
Have a great day
Vicki-Ann :)

Friday, August 24, 2018

In my Travellers Notebook...

I have been having a lot of fun lately using up some of the extra images that I had printed out from Index Card A Day or ICAD.  I really like using this craft coloured notebook insert from my travelers notebook. Using up my printed vintage images and just collaging bits and pieces together. I fill it in with stamps and washi tape. Just tearing book and dictionary papers and blending it all with vintage distress ink. I used a couple of my new items on this, stamps, tickets and washi tape.


This boat image was too big for my index cards and I did not want to cut it too fit. I had fun using all the tickets and trying to kind of tell a story on the pages.


On this one I had a bit of a butterfly and bee theme. I love using numbers and tags. I typed the quote on my old typewriter. "Whatever makes your soul happy do that."


I made a small pocket out of book paper so I could have my tag hanging out of the side. I have these cool bee trinkets, so I had to add one of those. 

Images are from the graphics fairy and some of the bees are from ephemera vintage garden.

Going to add this over on Paint Party Friday. Hi everyone. 

Have a great day 
Vicki-Ann :)